
NetObjects Fusion Tutorials
Creating Your First Web Site
Download this tutorial as a PDF
- Quick Navigation
Introduction
Imagine that you are the Promotions Manager for a small alpine adventure company called Mountain Jacques, and one of the company's most experienced guides. You want to share your excitement about the services Mountain Jacques provides. You know you can strengthen the business by enhancing communication with customers, so you decide to create a Web presence for Mountain Jacques and use NetObjects Fusion to build the site.
Your goals are:
- Make it easy for customers to learn about Mountain Jacques
- Make it easy for customers to contact the company
- Build excitement for upcoming events
In this lesson you learn to:
- Create a new blank site
- Add pages
- Add text
- Add images
- Add a picture using the NetObjects Image Bank
- Set a SiteStyle
- Use highlighted and rollover buttons
- Preview a site
- Save a site
Download our pack of tutorial documents and images here. Extract them to your desktop.
If you are ready, let's begin!
Creating a New Blank Site
Start with a new blank site.
- From the Online View, select New Blank Site under the New Site box to display the New Blank Site dialog.
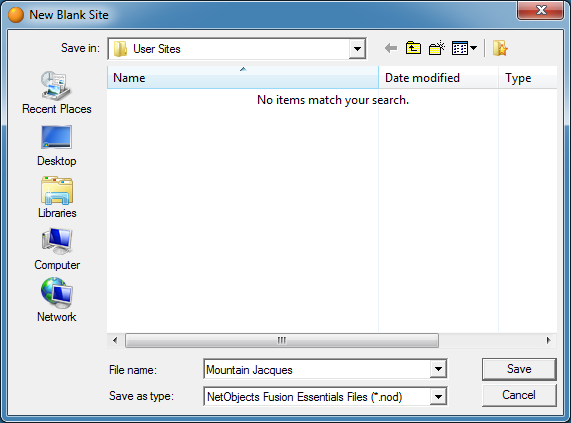
This is where you name your site file. NetObjects Fusion saves your site in a folder with the same name as the site, in the NetObjects Fusion \User Sites folder.
NetObjects Tip: You can change the settings in the Application Options for NetObjects Fusion to Open to most recently used file at startup. To display the Application Options dialog, choose Options > Application from the Tools menu.
- In the File name field, type Mountain Jacques, then click Save. The site name appears in the title bar of the window. NetObjects Fusion automatically appends .nod to the site's name to indicate a NetObjects database file.
- Your new blank site will open in Site View by default. The control bar highlights Site View to show it is selected. Site View is where you develop your site's structure.
A page icon represents each page in the site. Your new site has one page, the default Home page. The blue border shows it is selected.
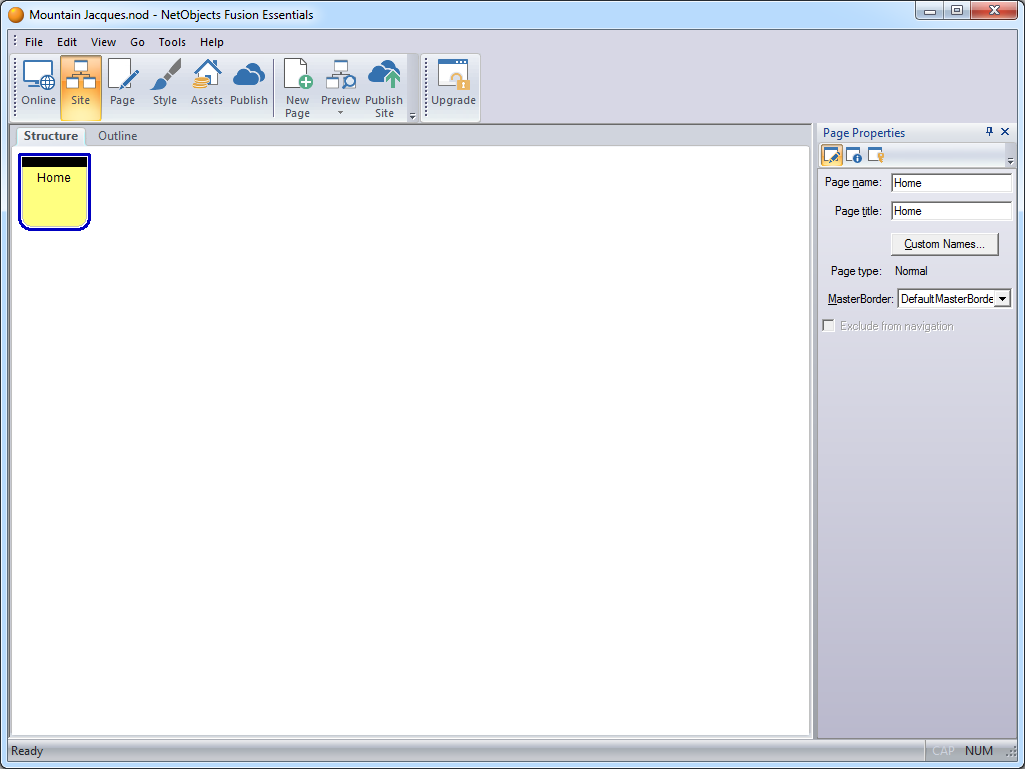
NetObjects Tip: To display the Properties inspector, select Properties palette from the View menu. The Properties palette shows the name of the selected object, in this case, the Home page.
Adding Pages
In Site View you add pages. NetObjects Fusion adds new pages under the selected page. You are going to add four pages under the Home page
- With the Home page selected, click the New Page button on the control bar four times, to add four pages.

NetObjects Fusion adds four pages under the Home page, and names each page Untitled1, Untitled2, and so on.
- With the Home page selected, type Mountain Jacques in the Page title field of the Properties palette.
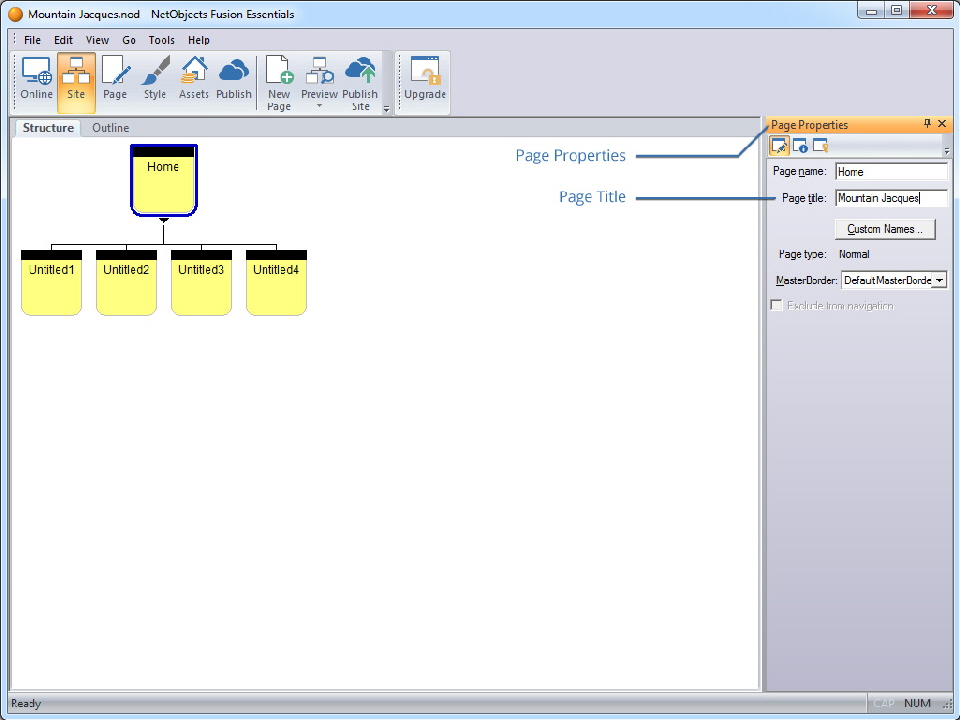
Now, when site visitors view the Home page in a browser, the browser's title bar displays Mountain Jacques instead of Home.
- On the far left page, click the name Untitled1 to select the page name.
- Type Mission, and then press the Tab key to select the next page name.
- Name the remaining three pages Events, Next Tour, and Contest.
Now you add pages under the Events page to describe upcoming events.
- Click the Events page to select it.
- Click the New Page button twice to add two pages under the Events page.
- Name the two pages Activities and Highlights. Next you add a page to advertise the contest prize.
- Click the Contest page to select it.
- Click the New Page button once to add a child page under the Contest page.
- Name the page Wonder Lodge and press Enter. If the page name is too long to fit on the page icon, NetObjects Fusion displays an abbreviated version of the name. However, the name will appear in full on the browser window.

- Double-click the Home page icon to open the Home page in Page View.
Looking at Page View
Page View is where you design and add content to your pages.

The Home page opens in Page View. By default, NetObjects Fusion displays:
- View bar
- Standard toolbar docked to the right of the View bar
- Upgrade button docked to the right of the Standard toolbar
- Forms toolbar docked below the View bar
- Component toolbar docked in the left window border (Upgrade to NetObjects Fusion 15 for full access to components)
- Image Bank (Upgrade to NetObjects Fusion 15 for free, royalty free stock images)
- Properties palette showing properties of the selected item
- Site Navigation palette, which you use to move between pages as you design the site
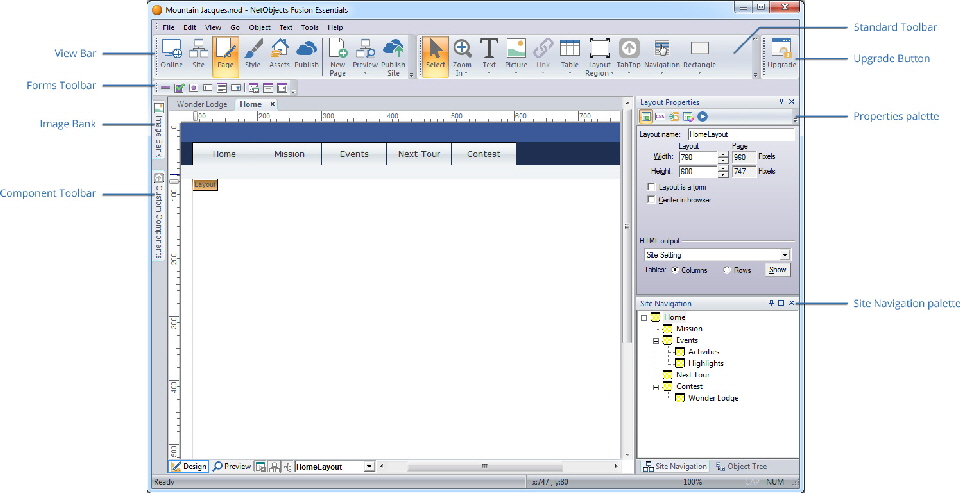
NetObjects Tip: You can drag any toolbar and place it anywhere on the screen, docked or undocked. You can save your workspace by clicking Workspace > Save Workspace As ... from the View menu. You can also revert to the Basic workspace from this menu.
Use the buttons in the lower left of the Page View window to open and close the Properties palette, Site Navigation palette, and Object Tree palette.
NetObjects Tip: The MasterBorder works like a header and footer, but on all four sides of the Layout.
Page View is divided into two areas: MasterBorder and Layout. The MasterBorder is the top, bottom, left, and right margins of the page. Objects placed in the MasterBorder region are visible on every page. The MasterBorder typically contains objects that repeat across many pages, such as navigation bars and banners. The Layout typically includes the page's unique content.
To select the MasterBorder or Layout area, simply click inside it. When the MasterBorder is selected, its label is highlighted; when the Layout is selected, its label is highlighted. The Properties palette always shows properties of the selected item.
The DefaultMasterBorder includes a navigation bar in the top margin. A text navigation bar and the Built with NetObjects Fusion logo is located in the bottom margin.
Adding Text to the Page
You begin by adding a welcoming message to the Home page. In NetObjects Fusion , everything on the page is an object, so to type text you add a text object.
- From the Standard toolbar, select the Text tool.

- Click inside the Layout and drag a wide text box starting near the top left corner of the Layout area.
Don't worry about the height of the box. As you type, the text box grows to accommodate the text, if needed.
The text box appears with hollow handles and contains a blinking insertion point. The pointer changes to an I-beam when you move it over the text box, indicating that you can type text.
![]()
Use standard arrow, Backspace, and Delete keys to edit text.
- Type: Mountain Jacques
- Press Shift+Enter to force a line break.
Shift+Enter inserts a single line space instead of the double line space inserted when you press Enter, and causes this text to break exactly where you want it to.
- On the next line type: Experience the best nature has to offer ...
While editing text, the Text Properties palette displays the Format tab, with options such as Font, Size, and Color that you can use to format selected text.
The Font field shows the font is Automatic and the Size field is 14px, which are both the default font and text size expressed in the SiteStyle CSS.
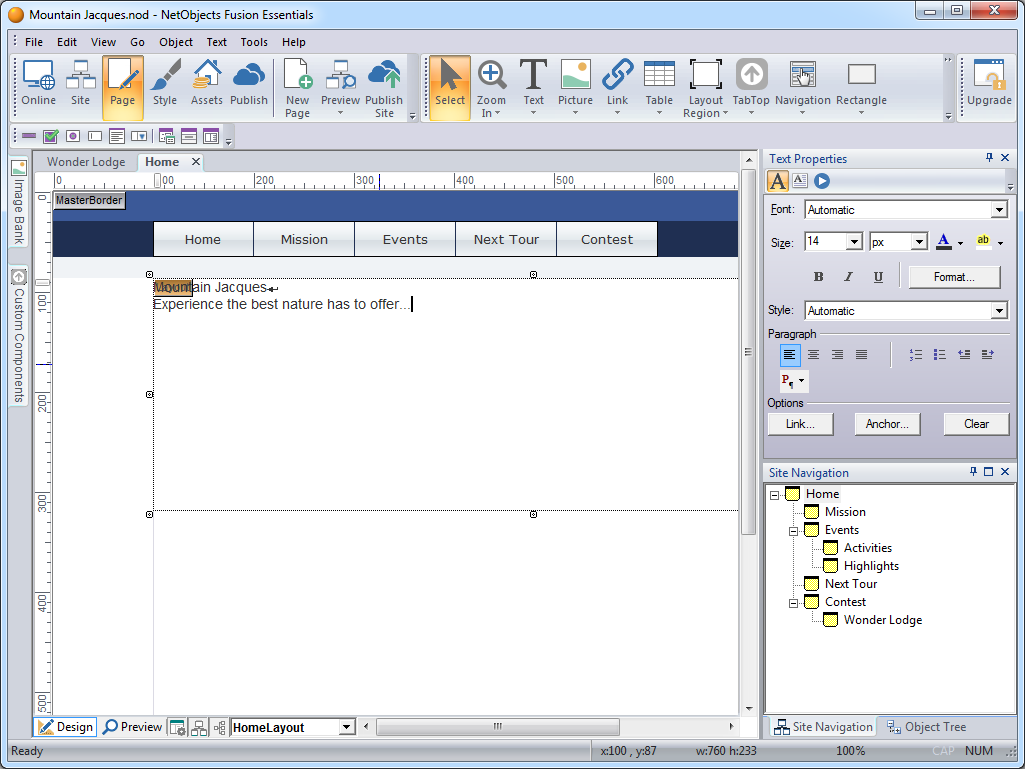
- Click outside the text box.
The height of the text box automatically adjusts to accommodate the text, and the hollow handles disappear. An outline surrounds the text.
- Click once anywhere on the text box to select it. Solid handles surround the text object to show it is selected. The Text Properties palette displays the Text Box tab.
![]()
When the text object has solid handles, you cannot edit the text, but you can move, resize, or delete the text box.
- Double-click inside the text box so the hollow handles reappear.
- Drag through all the text to select it. The Text Properties palette displays the Format tab.
- In the paragraph section of the Format tab, select H1 from the dropdown menu.
If necessary, the text box enlarges to accommodate the text. You can also drag a hollow or solid handle to reshape a text box. If necessary, drag a text box handle so the text box is wide and the text occupies two lines.
Also in the Paragraph section of the Format tab, click the Align Center button. The text changes accordingly.

- Click outside the text box to deselect it.
Adding a Picture
The Mountain Jacques art department created a graphic for the Home page.
- From the Standard toolbar, select the Picture tool.
- Place the pointer below the left side of the text object in the Layout area and draw a box.
The size of the box doesn't matter; NetObjects Fusion automatically adjusts the box to fit the picture after you place it.
The Picture File Open dialog appears so you can locate the image you want to place in the picture box.
- With the Folder tab selected, navigate to the Tutorial Docs folder downloaded and extracted earlier in this tutorial.
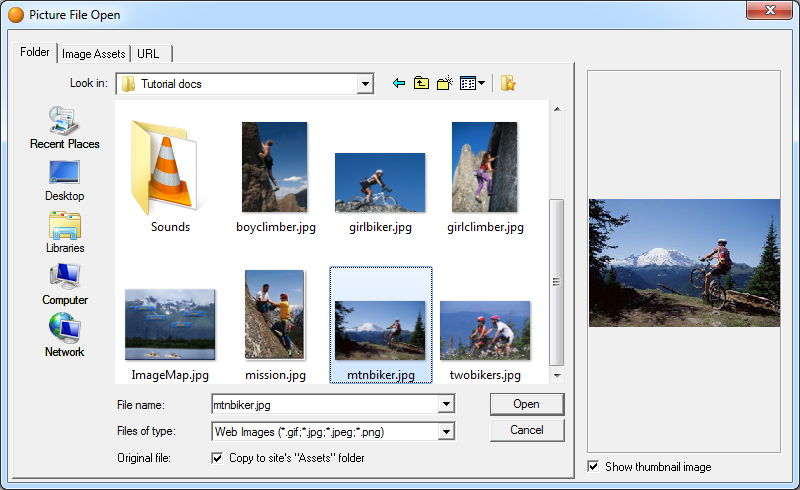
The picture appears selected in the Layout area.
When the picture is selected, the properties palette shows Picture Properties.
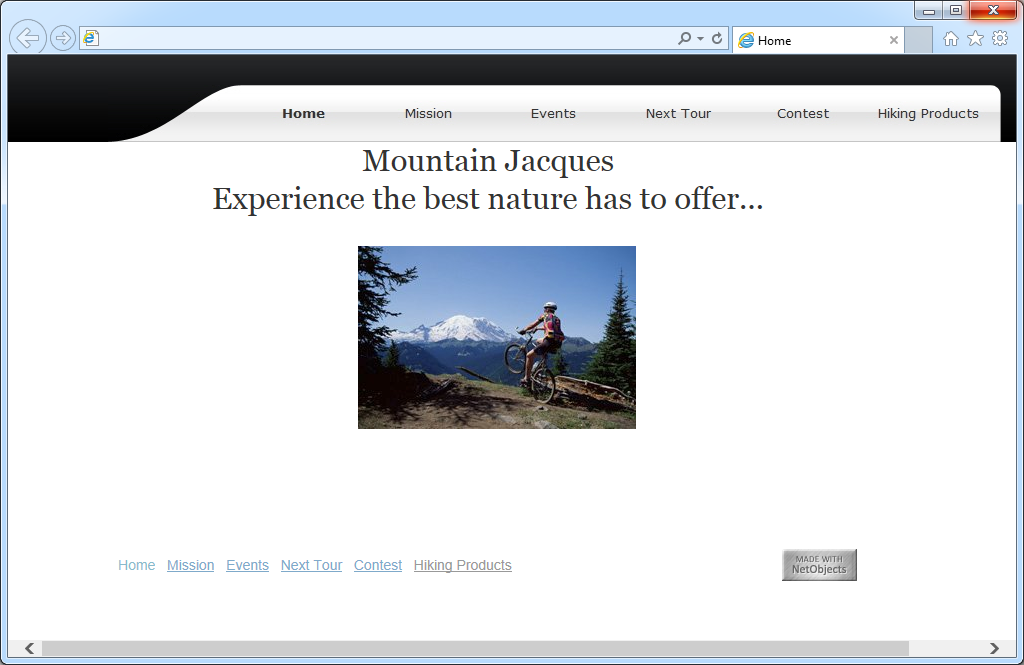
You can crop or size a picture by dragging its handles.
NetObjects Tip: Ctrl+drag copies the picture. If you accidentally drag the picture instead of the handle, select Undo Copy Object from the Edit menu, press Ctrl+Z to undo, or right-click the copy and select Delete Object from the shortcut menu.
- When the Display setting is Normal, you can drag any handle to crop the picture.
- When the Display setting is Stretch, you can drag any handle to resize the picture.
- To restore a picture to its original size and shape, right-click it and select Restore Original Size from the shortcut menu.
Setting the SiteStyle
A SiteStyle is a set of graphic and text elements used throughout your site to provide a consistent look. SiteStyle elements include the banner and buttons for navigation bars.
The default SiteStyle doesn't reflect Mountain Jacques’ image. Fortunately, there are dozens several SiteStyles available to suit any tastes.
- Click the Style button on the control bar to go to Style View.

- Select Gloss - Blue from the list of Local SiteStyles.
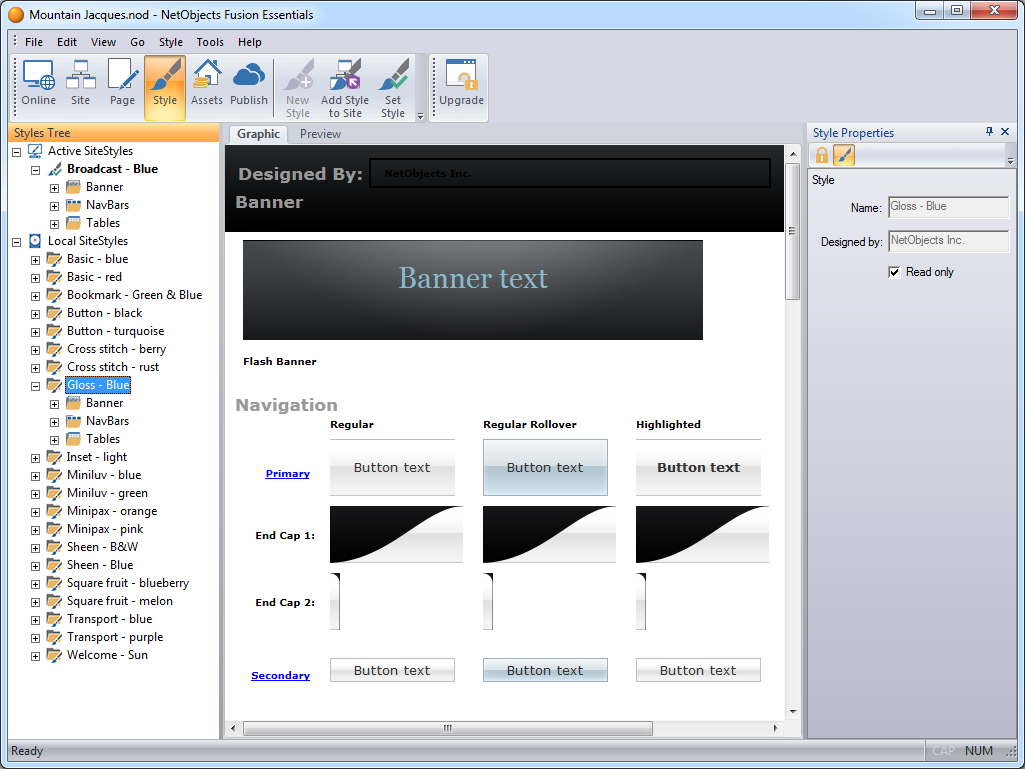
- Click the Set Style button on the control bar.

- Click the Page button on the control bar.
- The Home page appears in Page View, displaying the Gloss - Blue SiteStyle. The SiteStyle has a two-tone background. The top of the background is powder black with a slight gradient.
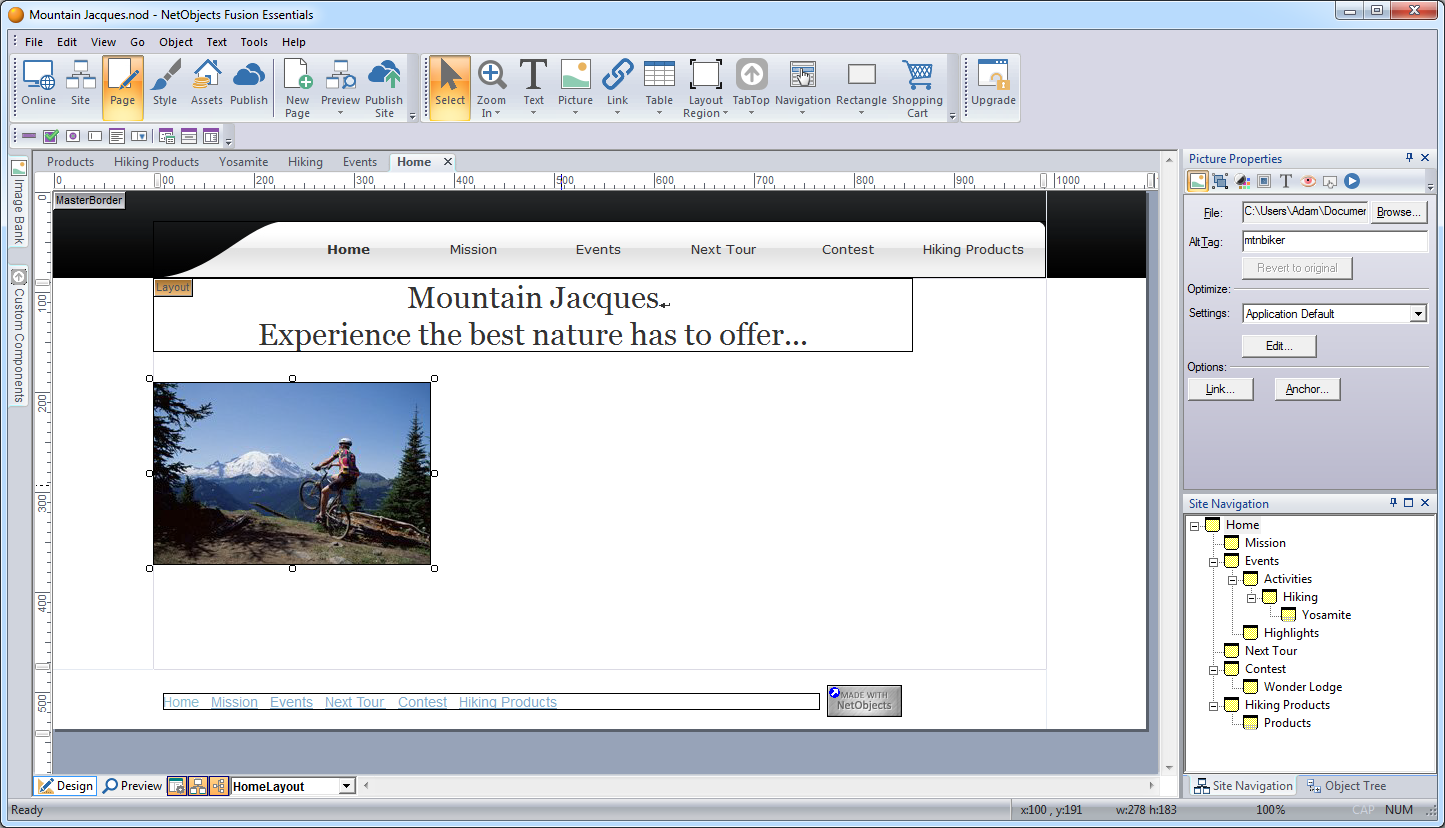
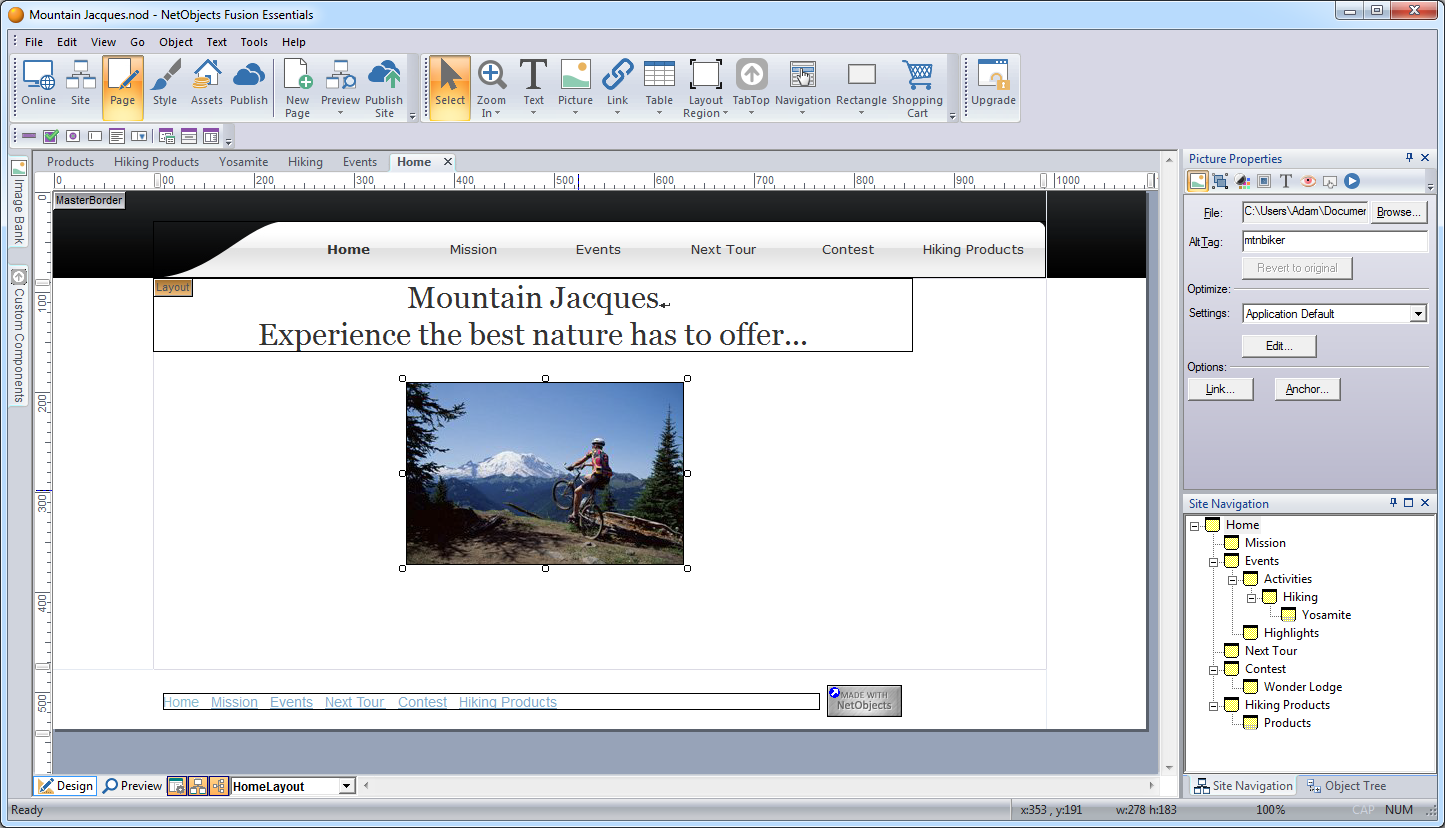
- Drag the picture upward so it is almost touching but not overlapping the bottom of the text and is centered under the text box.
Setting Button Navigation Bar Properties
You can set up buttons that are highlighted as you pass the pointer over them in a browser.
- Select the button navigation bar in the top MasterBorder.
- Click the Style tab on the Properties palette.
- In the Options section, make sure Highlighted and Rollovers are selected (these should be checked by default).
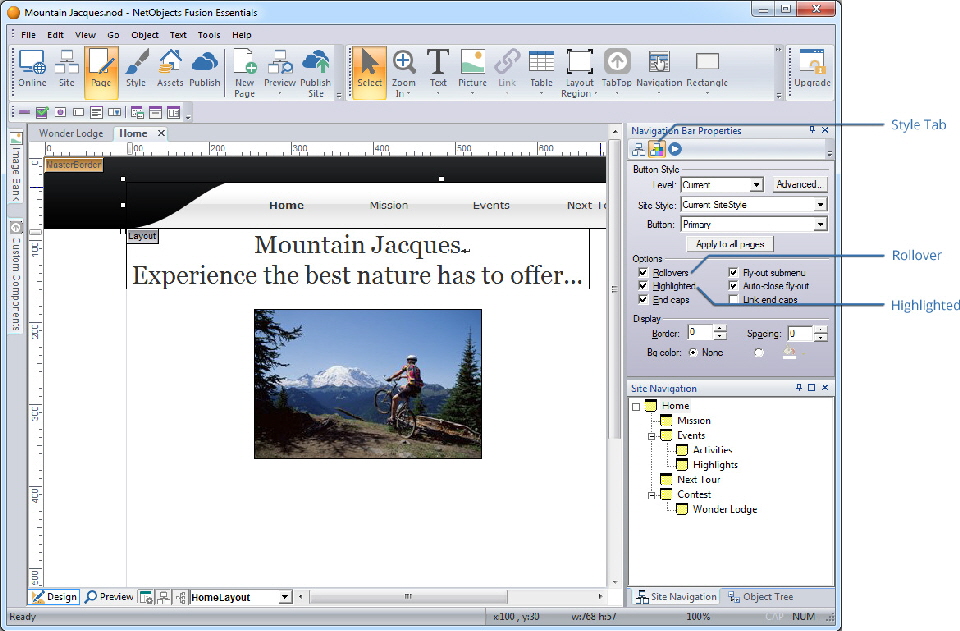
- Rollover buttons change to the rollover buttons shown in Style View as site visitors pass the pointer over them in a Web browser.
- Highlighted buttons show the highlighted button style for the page being viewed in a browser.
- End caps are graphical elements that can be added both before the first button and after the last button of a navigation bar.
- Fly-out submenus make child pages not included in the navigation bar visible when the site visitor moves the pointer over the parent page link.
- Auto-close fly-out submenus close the fly-out submenus when the mouse is no longer hovering over.
- Link end caps to link the end caps to the adjoining button in the navigation bar.
Previewing Your Site
You accomplished a lot in a short time, and you want to see how your site looks in a Web browser. NetObjects Fusion helps you check your work by previewing it in a browser as you develop your site.
- To preview your site, click the Preview Site button on the control bar.

The Previewing Site dialog appears showing progress messages as NetObjects Fusion generates HTML for your pages.
NetObjects Fusion launches your Web browser and displays the page from which you started the preview.
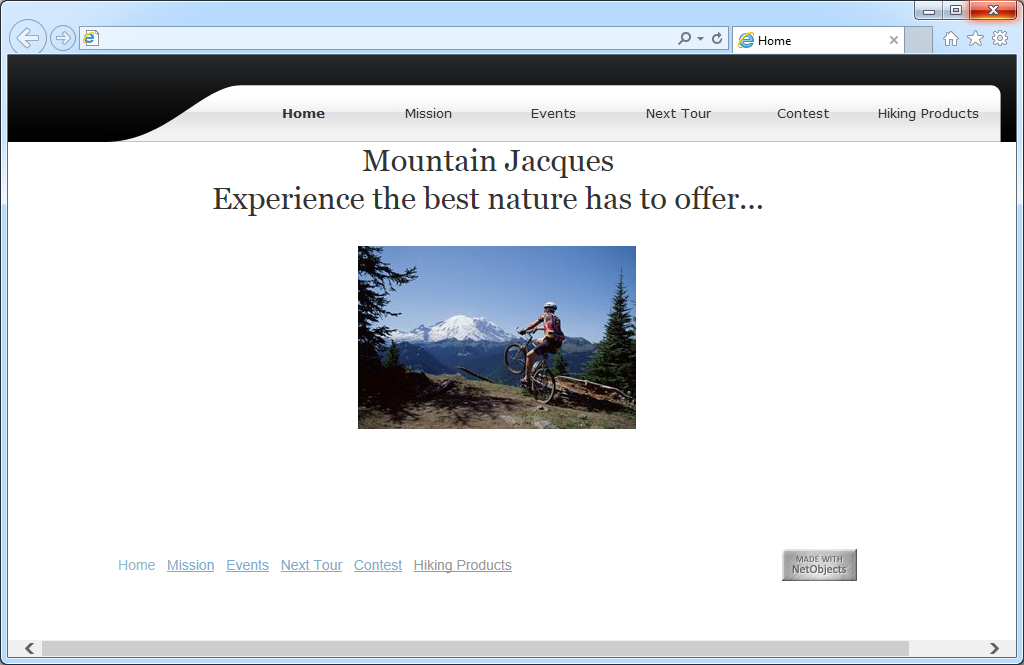
The other pages have no content yet, but you can click the navigation buttons to view the pages and their style elements.
Notice that all the MasterBorder margins are the same as the Home page. This is because, as shown in the MasterBorder Properties palette, all pages are currently assigned the DefaultMasterBorder.
When you are done previewing, you can minimize or close the browser, or simply make NetObjects Fusion the active window again.
Saving Your Site and Exiting
You might want to take a break and continue building your site later.
- NetObjects Fusion automatically saves your site every time you switch views or open a different page. To save your site manually at any time, select Save Site from the File menu.
- To switch from Auto save mode to manual save mode, clear the Auto save check box in the Application Options dialog.
- To exit NetObjects Fusion , select Exit from the File menu. The Program tab of the Application Options dialog contains an option to Compact database upon exit. When this option is selected, NetObjects Fusion compresses the site to occupy less disk space, and verifies the integrity of your site file.
- To continue, simply save your site and do not exit the program.
Where to Go from Here
You just created a site for Web publishing with NetObjects Fusion . You are now ready to learn more about the powerful features of NetObjects Fusion . Look for more tutorials at our Launchpad site located at http://launchpad.netobjects.com.